
How to Set Up Facebook Business Manager
Learn how to set up a Facebook Business Manager account to manage multiple pages and ad accounts. Our guide explains how to add your page to Facebook Business Manager, and how to manage rolls for the rest of your team. Plus Facebook Business Manager for agencies who need to share client access.
Let’s be honest: sometimes we as marketers tend to give Facebook a hard time.
Because sure, organic reach ain’t what it used to be.
But when you consider the sheer amount of marketing firepower Facebook provides to its business members, it’s clear why it’s still the top place for marketers to be.
Hyper-targeted ads? Check.
Insanely in-depth audience analytics? Yep.
The ability to grow your own communities and network like a madman? Yeah, that too.
And for brands and businesses on Facebook, it’s key to take advantage of every perk and benefit the platform offers.
Which is why if you haven’t looked into how to setup Facebook Business Manager yourself, you’re missing out on some truly awesome features.
In this step-by-step guide, we’ll break down why you should make the switch to Facebook Business Manager and how do so in plain English.
(Spoiler alert: it’s super easy and totally worth it)
What is Facebook Business Manager, Anyway?

Simply put, Facebook Business Manager represents all the best features of Facebook for brands…
...on steroids.
The platform serves as the sort of central hub for your Facebook presence, encompassing your ad accounts, Pages and everything in-between.
This shaves some serious time off your schedule as you don’t have to juggle accounts or Pages anymore. Likewise, password-sharing and security snafus as a result of group accounts is a thing of the past.
In other words, Facebook Business Manager is a busy marketer’s dream come true. Below is a snapshot of what the platform looks like in action.
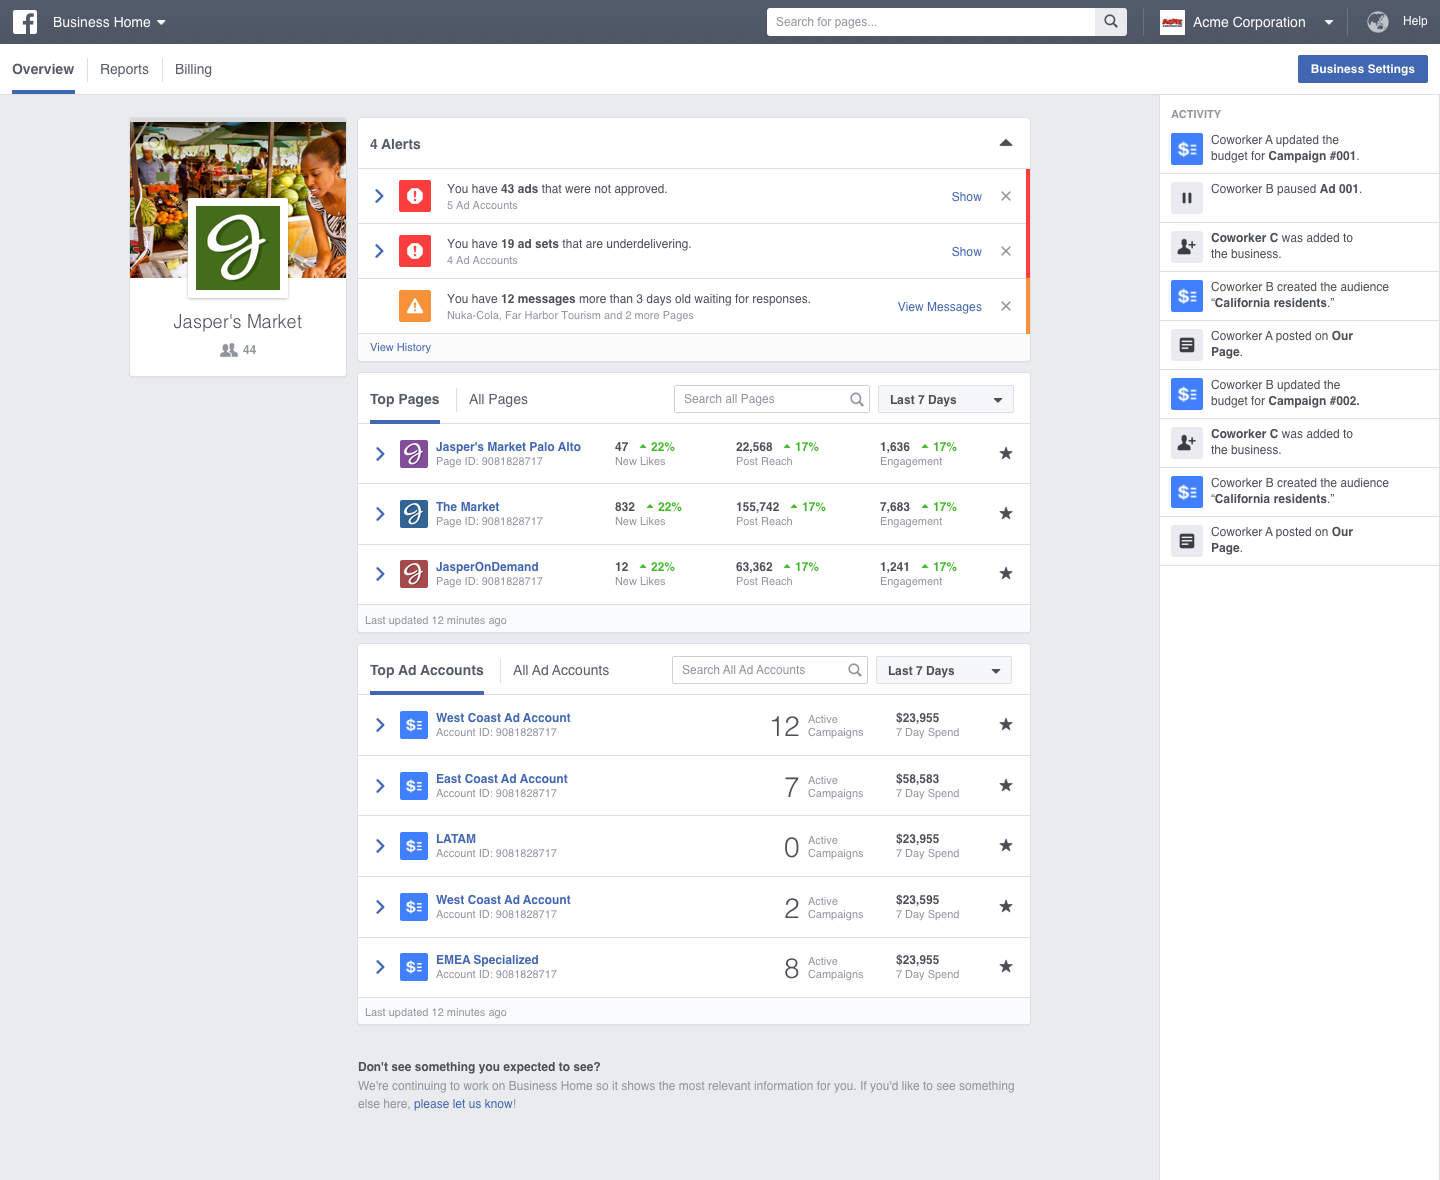
Pretty badass, right?
Who Should Create a Facebook Business Manager Account?
You, for starters.
Seriously, though. If you already have an ad account or Page tied to your name, there’s really no reason not to hop on the bandwagon considering that’s all you really need.
Beyond that, setting up a Business Manager account is a must for anyone who...
- Runs multiple ad accounts, either on behalf of their own business or for clients
- Manages multiple Pages and wants more concrete control over permissions for other users and admins
- Needs to run regular reports (either for themselves or for clients), as Facebook Manager centralizes ad and Page performance reports for you
Another massive benefit of Facebook Business Manager is that it totally separates your personal Facebook account from your business dealings. This means that you can work distraction-free and get down to business instead of scrolling through memes all day.
If you’re on the fence about whether or not a Facebook Business Manager account makes sense for you, we recommend you go through the steps and take it for a test-drive.
Again, you can start running ads via Business Manager granted you already have an account. That’s all it takes.
And as an added bonus, creating a Facebook Business Manager account is a total breeze.
How to Create a Business Manager Account
Our quick and painless Facebook Business Manager tutorial will take you from Point A to Point B in a snap.
Now, let’s dive in!
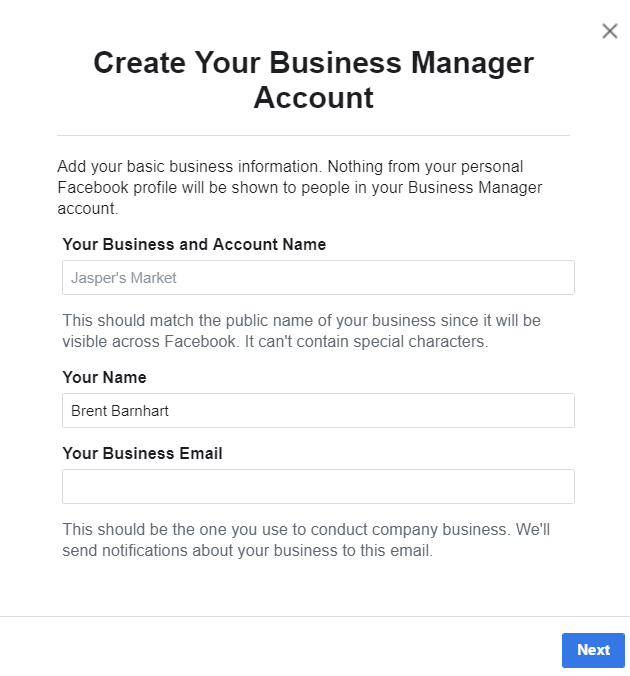
Step 1: Visit the Facebook Business Manager homepage and click “Create Account” in the upper lefthand corner.
Here’s you’ll be asked to fill in your business name and email. As noted earlier, none of this has to be tied to your personal account. Feel free to use a business email if you don’t want notifications flooding your personal inbox. When you’re good to go, click “Next.”
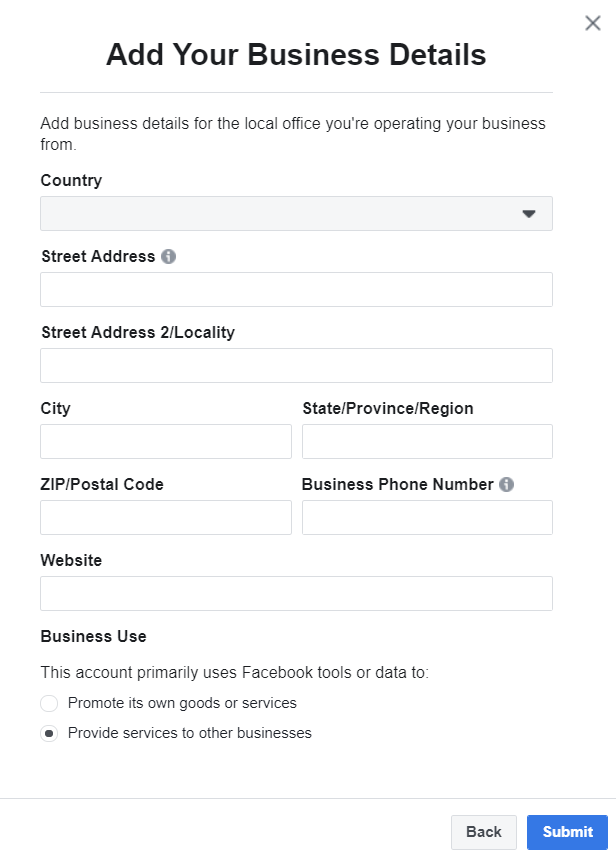
Step 2: Here you’ll be asked to fill in your business’ essential details including your address, phone number and website. You’ll also have an opportunity to signal to the Business Manager whether the account is for your business or if it’s being used on behalf of clients. “Submit” when you’re done.
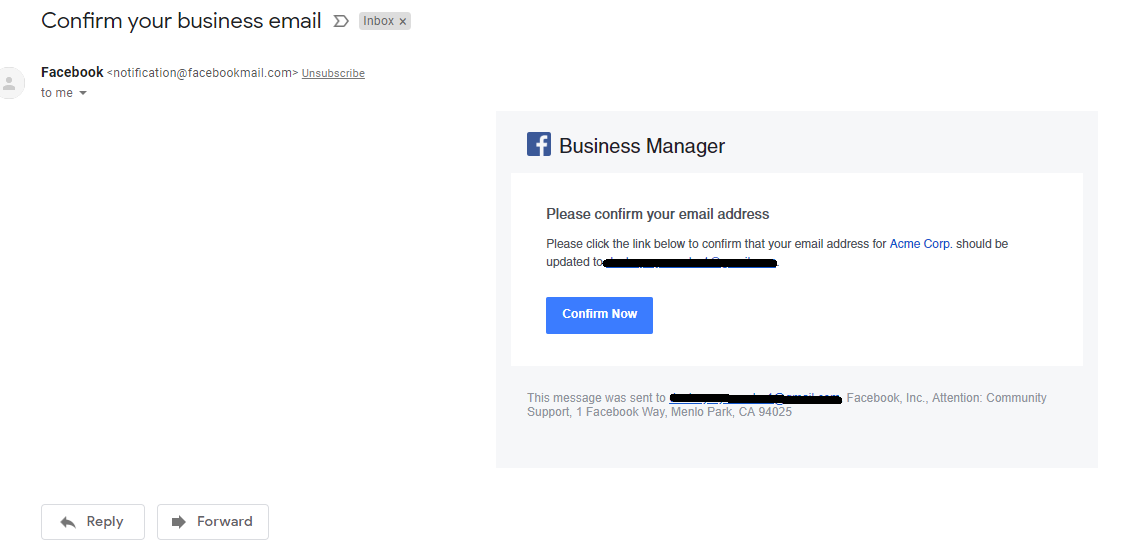
You’ll then receive a confirmation message to let you know your account creation was successful.
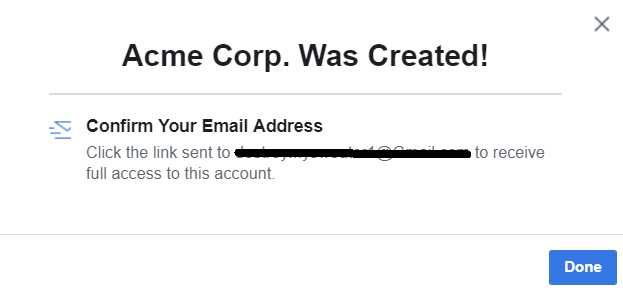
Go ahead and hop over to your inbox where your confirmation email should be waiting.
Step 3: Hit “Confirm Now” in your email to activate your Facebook Business Manager account. Doing so will immediately take you to the platform.
Step 4: Now you can start filling out your Facebook Business Manager account. Facebook automatically recommends some actions to take as well as some in-house tutorials. You can click around this section as well as “Business Settings” to get a feel for the interface.
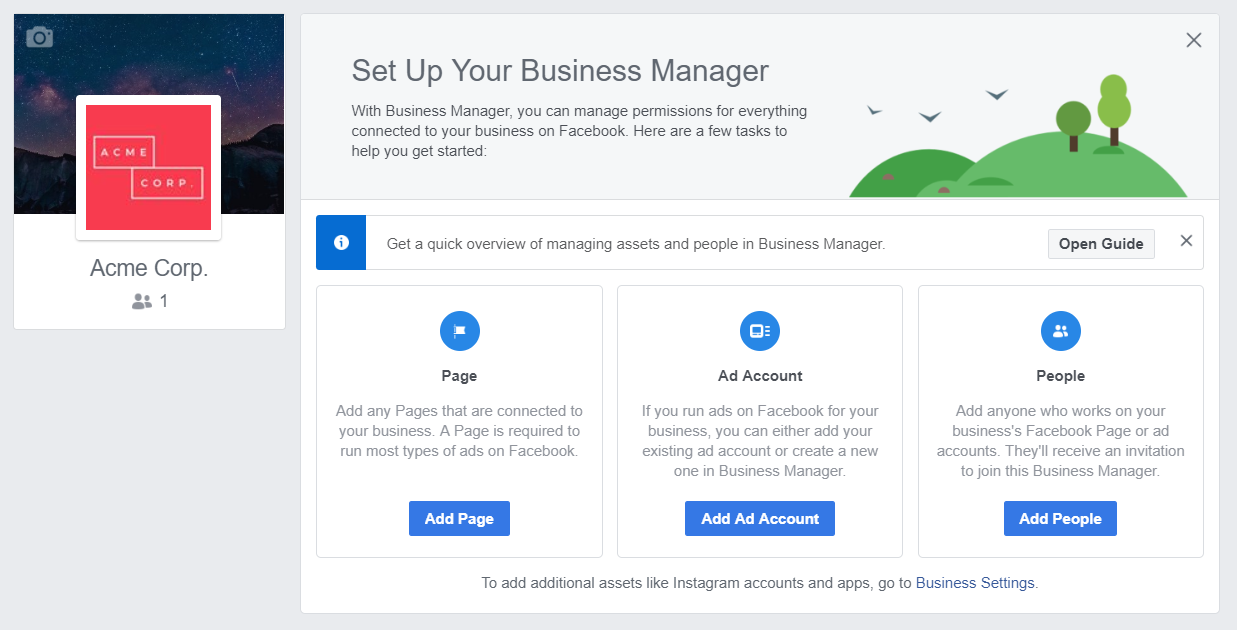
Step 5: From here, you can begin to manage your Facebook Business Manager assets. These assets include...
- Pages
- Ad accounts
- Instagram accounts
- Apps
(Note that for Instagram accounts and Apps, you need to go to the “Business Settings” beyond the initial page you landed on)
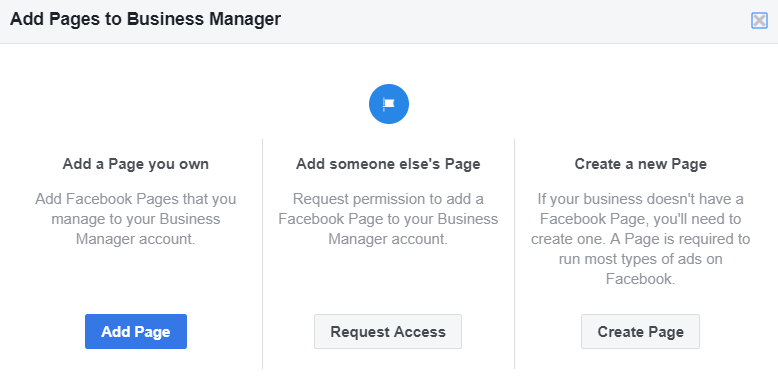
Perhaps the most pressing order of business is connecting your existing Pages to your account. You have the choice to add your own Page, request access to someone else’s Page (think: a colleague or client) or create one from scratch.
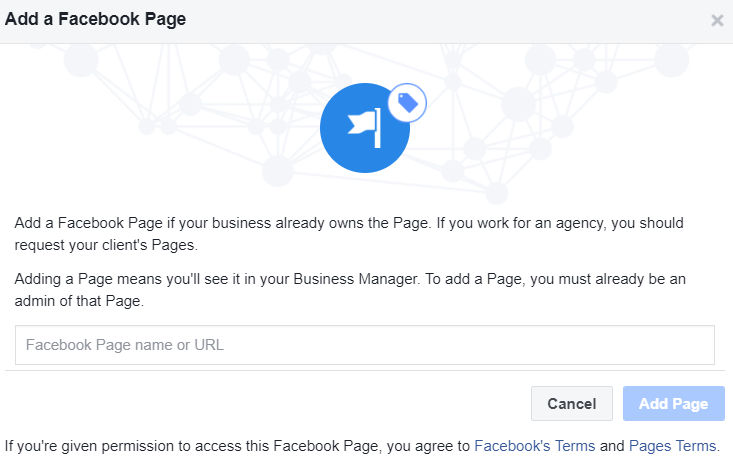
If you already have a page, simply enter the Facebook page name or URL and the platform will populate it for you. Easy, right?
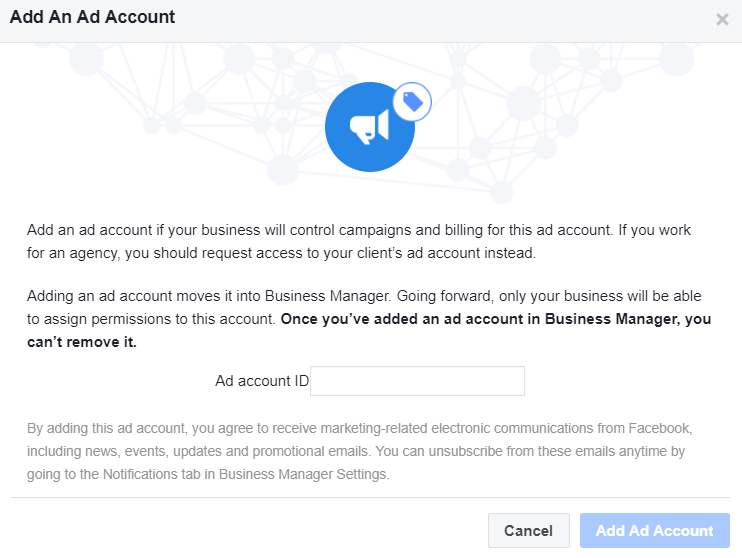
Managing your ad accounts follows pretty much the exact same process. Simply select “Add Ad Account” and you’ll be given three options: add your own account, add someone else’s or create a new account.
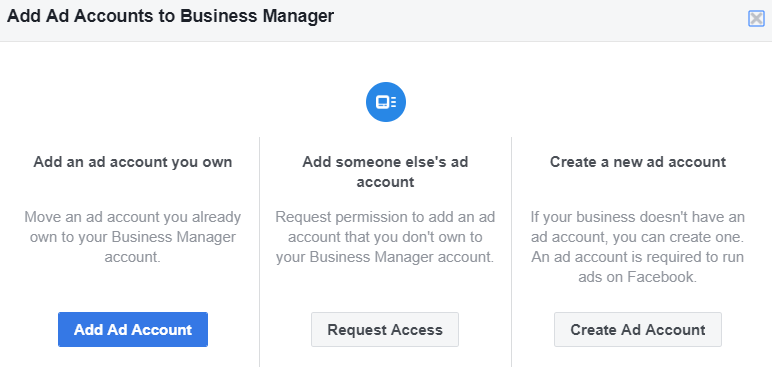
Assuming you already have an ad account for yourself, just enter the account ID and you’re good to go. The awesome part about Facebook Business Manager is that you can add up to 200 separate ad accounts.
Yes, 200.
Facebook Business Manager aggregates data from all ad accounts you manage in one place. To check out your reports, simply go to the “Ad Account Overview” page”
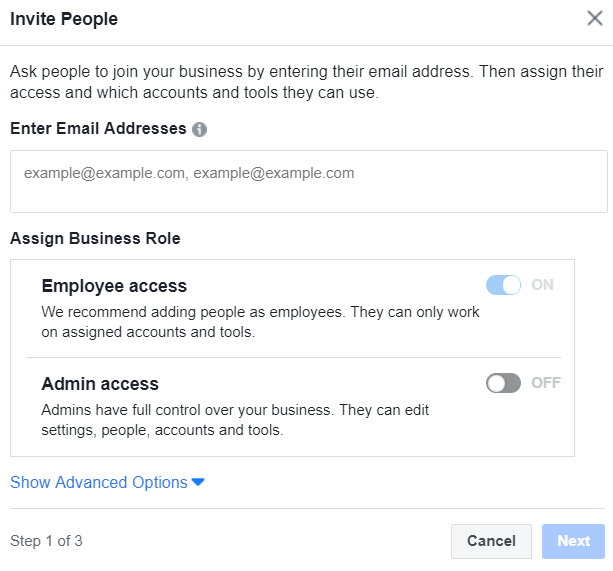
Step 6: Let’s say you’re collaborating with a team and want to manage your permissions. On the homepage, select “Add People.”
This will prompt you to invite people to your account based on your permissions. You can choose whether to give them employee access where you have control or make them an admin of a particular asset.
After selecting their role, simply choose which asset you’re assigning permissions to.
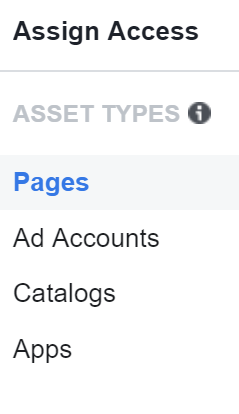
By managing permissions, you can easily collaborate among clients or coworkers while maintaining a sense of control.
These sorts of permissions likewise make it much easier to work with an agency rather than handing off your password or an ad account that’s tied to your personal one.
Your agency simply needs to request access for your Page or ad account and presto. This cuts down on back-and-forth and also allows the agency to create ads and bill you directly.
And with that, we wrap things up!
Ready to Step Up Your Facebook Presence with Business Manager?
If you’re serious about squeezing more out of your Facebook presence, Business Manager is a must-have.
Because if nothing all, having all of your ad accounts, Pages and reporting in one place can save you so much time and stress.
Meanwhile, the permission features make it so much easier to work with clients and customers without worrying about “what-if” in terms of security.
The end result? A streamlined Facebook presence that focuses on you getting down to business. Sounds nice, doesn’t it?